
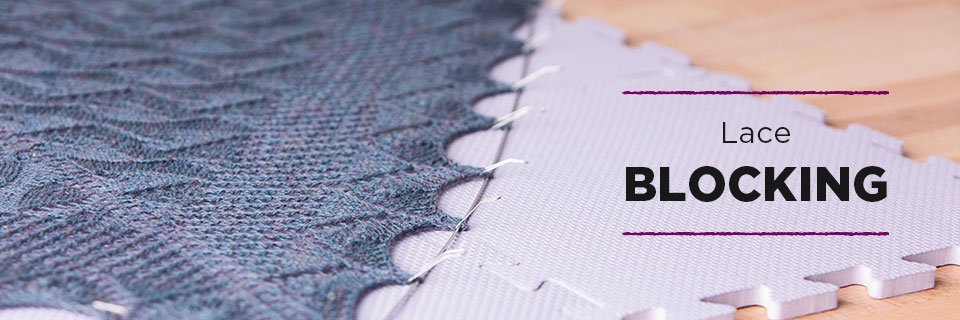
How To: Block Lace
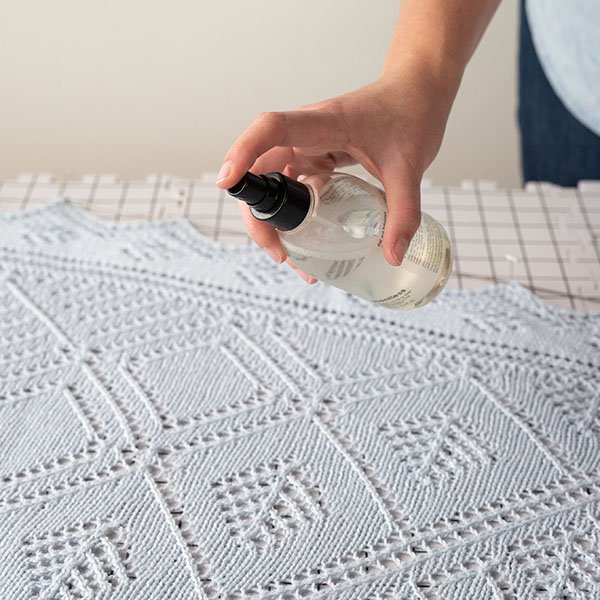
Before you block your lace project, you will need to start by getting your project damp—but not soaking wet! Gently spray your project with a water-filled spray bottle or Soak Flatter Spray. You will need a flat, padded, colorfast surface that’s big enough for the project; we recommend the Knit Picks Premium Blocking Mats. Let's get started!
Recommended Tools:
Your project must be damp (not dripping wet) before you begin blocking. Get your project wet and remove the excess water. If you are in a hurry, wrap it in a towel to protect it and run it on the spin cycle of your washing machine for just a minute or two. If you’ve got time, you can line a sink with a folded towel and nestle the knitting into the towel and saturate it with water. Then let the water drain slowly through the towel. After a couple of hours, the project will be just damp enough for blocking.
You will no doubt be surprised at how much your project will expand when it is stretched, so be sure to have plenty of space. Find a flat, padded, COLORFAST surface that’s big enough for the project. You can also use a carpeted area or large panels of foamcore covered with a sheet or tablecloth. Gather up the lace into a heap, and gently transfer it from the towel to the pinning surface. Loosely lay it out flat with the right side facing up. Now the blocking begins!
Wire Blocking
Blocking wires are a quick and easy way to block your lace project. Simply slip the wire through the edges of your lace project and place pins along the inside of the wires to hold them in place. If you have scalloped edges, you will want to slip the wire through the outer edges of your scallops to emphasize them. Follow the same rules as pin or string blocking by measuring the radius of your finished piece as you adjust the wires.
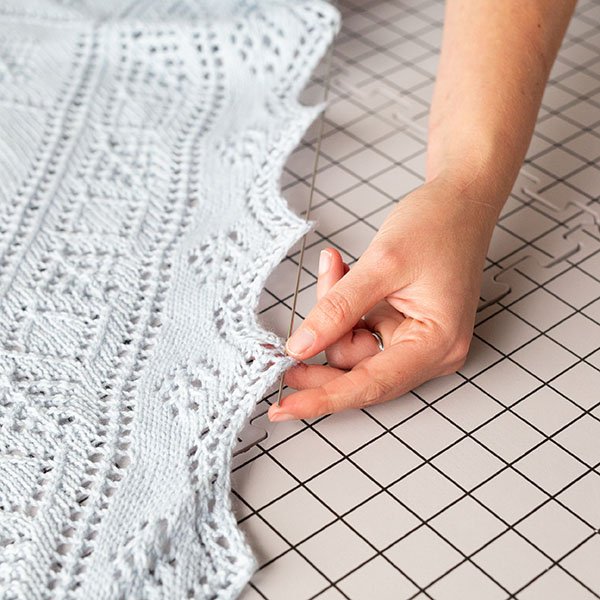
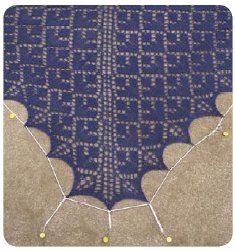
Pin Blocking
Gently stretch out the piece and determine where the edges will be pinned—e.g., for a round shawl, put the center of the shawl in the center of the pinnable surface. For a triangular shawl, be sure the shawl is positioned so the long front edge will fit, and the point will, too. If the shawl is really big, try folding it symmetrically in half and pinning the two halves as if they are one smaller item—putting all pins through both layers into the pinnable surface underneath. Be sure to pin along the fold as well.
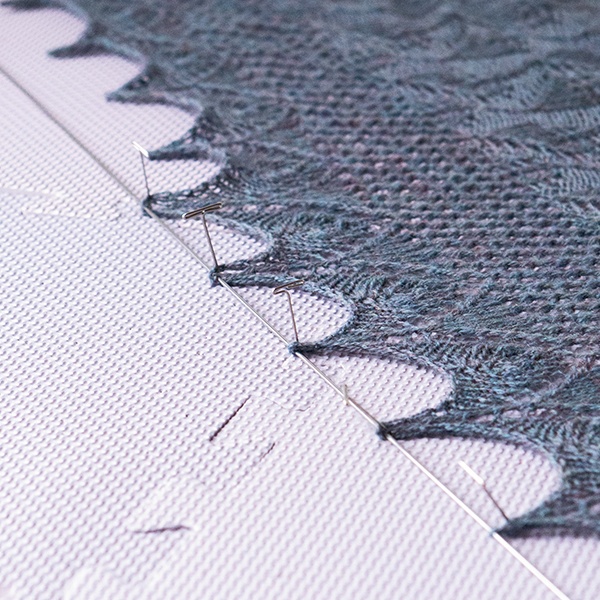
Pin out the edges, pulling as far as easily possible, putting in a pin every inch or so on straight or curved edges or in each point of a scalloped edge. Remember to visually check to see your shape is what you intended it to be when it is completely pinned down; e.g., a square is still square, and a circle is still circular. Use a ruler to check comparable points for consistency.
Ruler Blocking
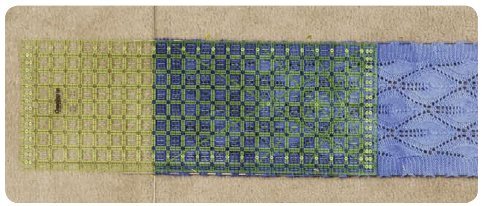
If you are blocking something straight and of consistent width, like a scarf, a quilting ruler can be very handy. These rulers come in common widths of 4″, 6″, 6½”, 8½”, 12″, 12½” and 14″. Choose the size closest to your desired finished width. Lay the ruler over the scarf and pin the edges of the scarf (with or without blocking wires) just to the outside of the ruler. As you pin down both sides of the length of the scarf, you will create a channel through which to slide the ruler as you continue to pin. This ensures that the scarf is pinned in a straight line. Also use the ruler to pin the ends of the scarf in a straight line at the edge of the ruler. These rulers can be purchased on our sister site Connecting Threads.
String Blocking (aka Russian Blocking)
Thread a blunt needle with a cotton string or yarn that is dye-free (white or neutral are recommended). Don’t cut the string until you are finished threading the string through the edging of your entire project. When you get to a corner, leave a long loop of about 10 inches. As you go along, spread out the knitting so the string is not causing the project to gather anywhere. Leave more string than you think you need as it is important to leave yourself plenty of slack. You will be taking it up later as you shape your project.
When you have threaded all the way around, tie the string together to make a continuous loop. Arrange the string so that it remains loose and the loops are at the corners. The next step takes two people, so find a friend to help. Each person grabs a corner loop, gently pulls and lays it on the prepared surface to start pinning. Make sure to pin at least every corner and along the edges enough to keep them straight. Use pins to pull the extra string tight, providing a taut framework for holding the lace in the desired shape
Frame Blocking
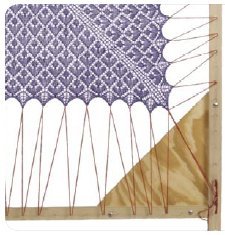
For this method you will need a frame and a ball of white or natural strong cotton yarn. We used red for photographing purposes, but white or natural is recommended to avoid color bleeding.
Cut the stringing yarn into several generously sized lengths. You will want them to be at least double if not triple the length of each side of the item you are blocking. Thread the lengths through the edging of your project including each peak/point, if there are any.
String the project up on the frame, securing the ends to nails as necessary, and ease and pull the stringing yarn to adjust the tension on your project until it is the shape and size you want it to be.
Finishing Up
After you have finished pinning or stringing your project, walk away for a few hours. You will be surprised how quickly the damp yarn dries when it is spread out. When it is completely dry, you can release the tension and wrap up in your masterpiece.